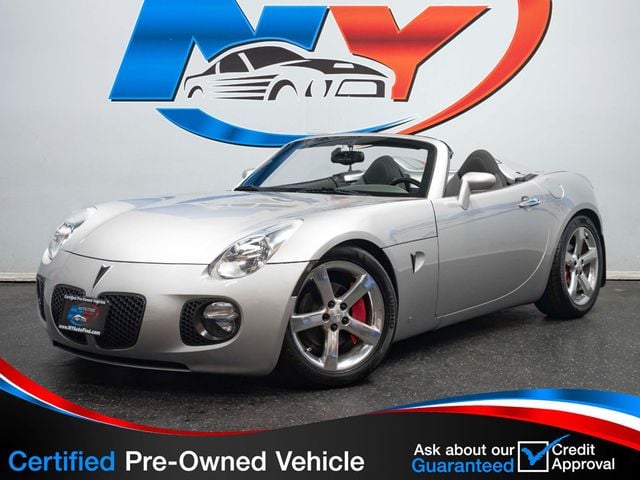
The Pontiac Solstice was a two-seat roadster produced by General Motors under the Pontiac brand from 2005 to 2009. It was designed to be a sporty and affordable convertible that offered a fun and exhi...
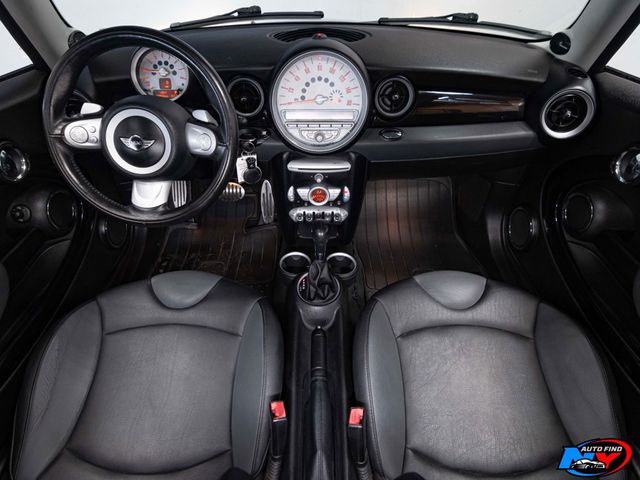
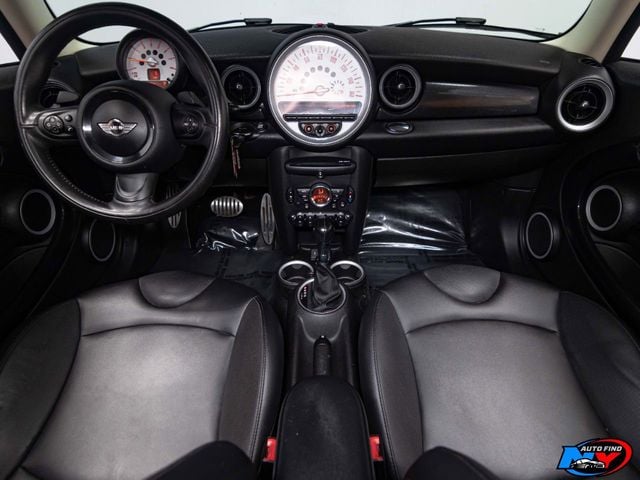
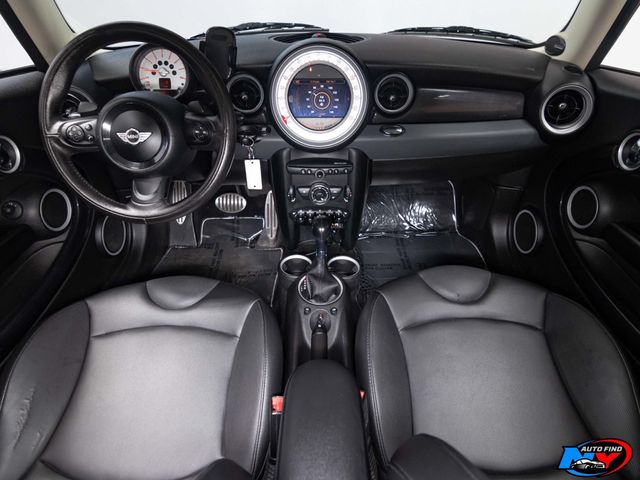
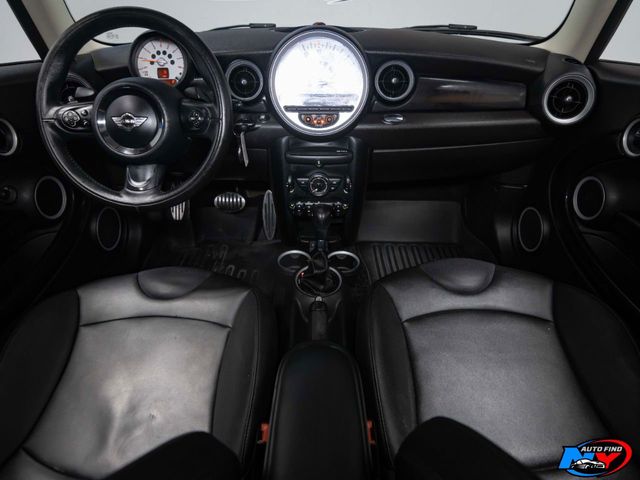
The Mini Cooper is a small two-door, four-seat, economy car made by the British Motor Corporation (BMC) since 1959. Its space saving front wheel drive layout allows 80 per cent of the area of the cars...
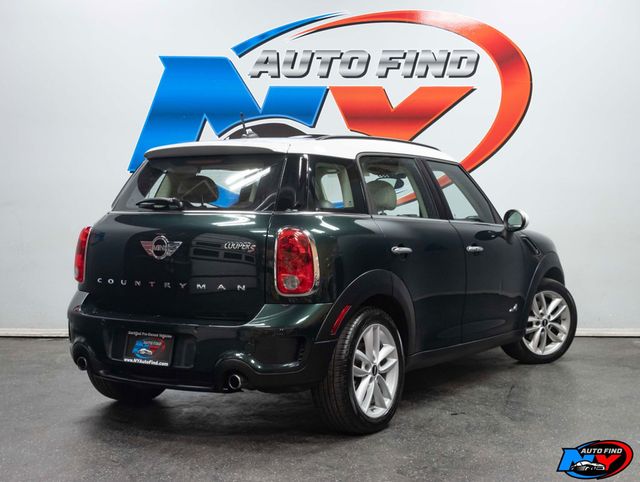
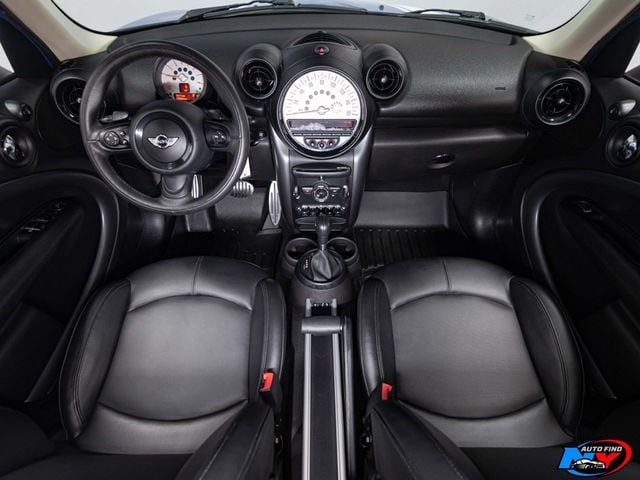
The MINI Countryman is a subcompact crossover SUV produced by the British automotive company MINI. It was first introduced in 2010 and is the largest model in the MINI lineup. The Countryman is availa...
The Mini Cooper is a small economy car made by The Cooper Car Company, the British Motor Corporation. Its space saving front wheel drive layout allows 80 per cent of the area of the cars floor-plan to...
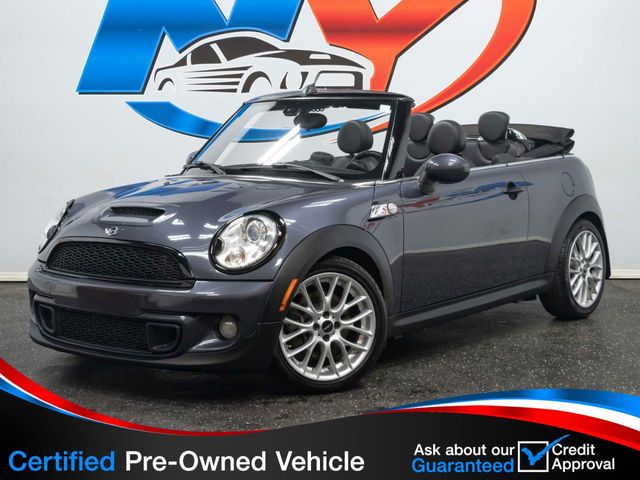
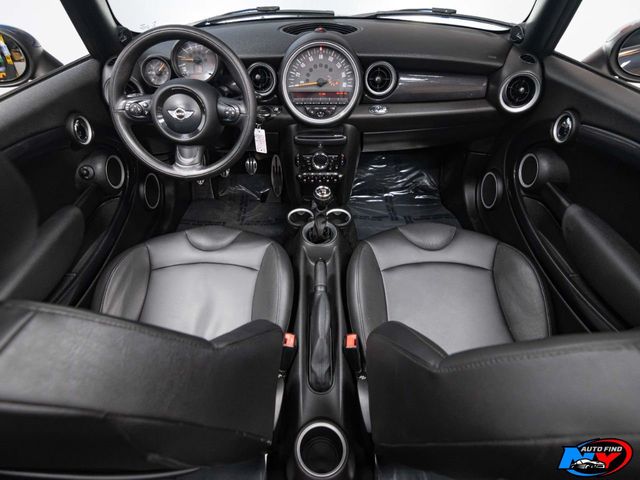
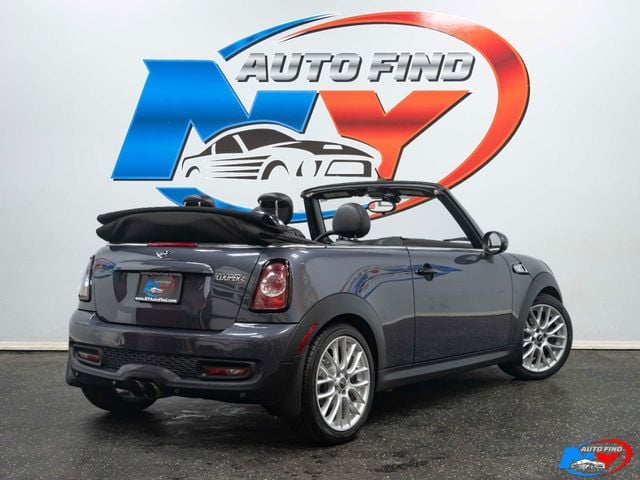
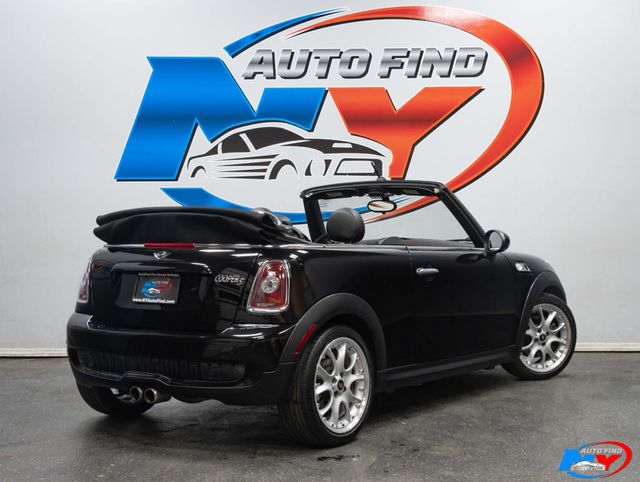
Mini Cooper Convertible is a small economy car made by the British Motor Corporation (BMC) and its successors from 1959 until 2000. The original is considered a British icon of the 1960s. Its space-sa...
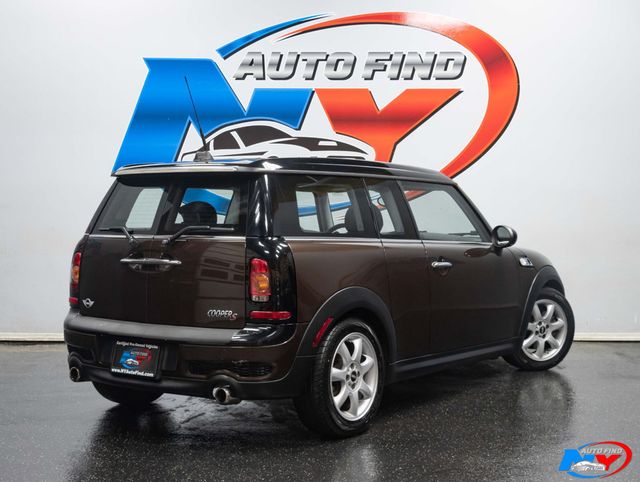
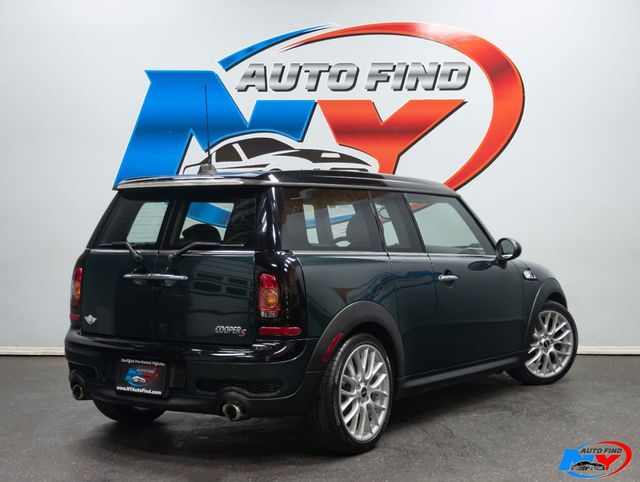
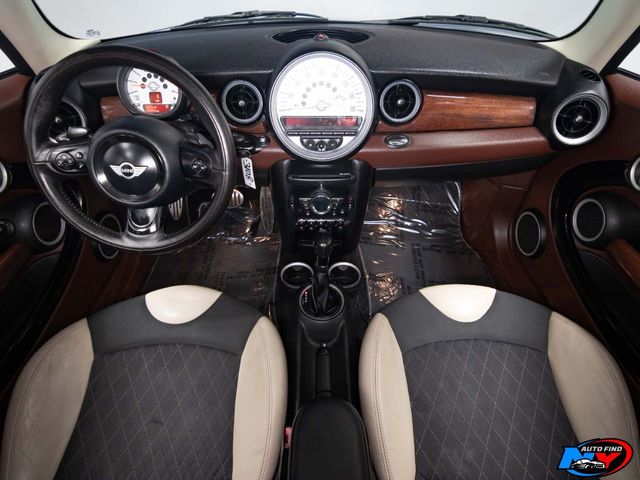
The MINI Clubman is a unique and versatile model within the MINI lineup, known for its distinctive design, practicality, and increased interior space compared to the traditional MINI Cooper models. Cl...
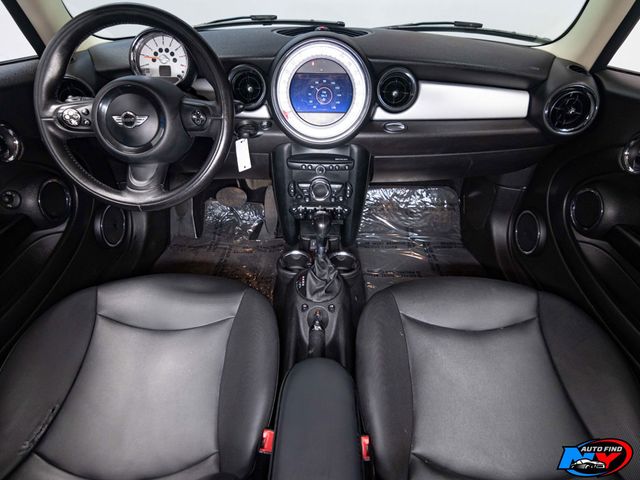
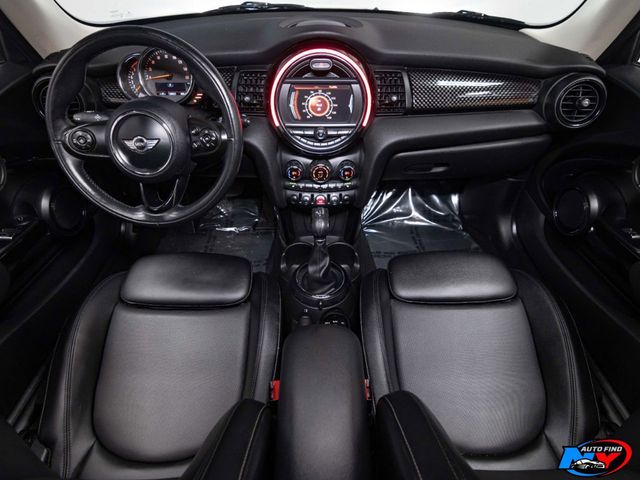
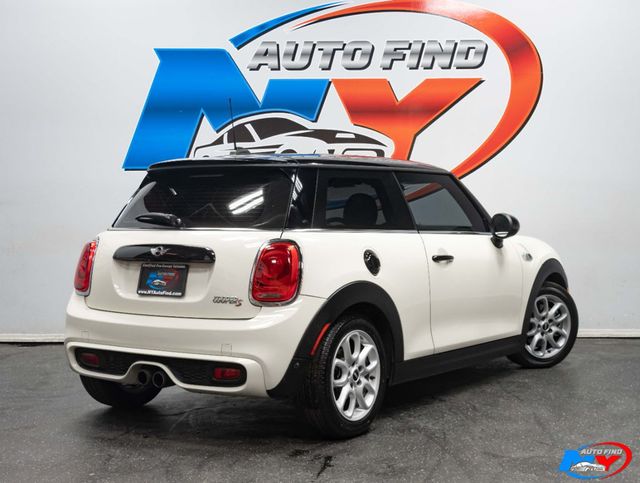
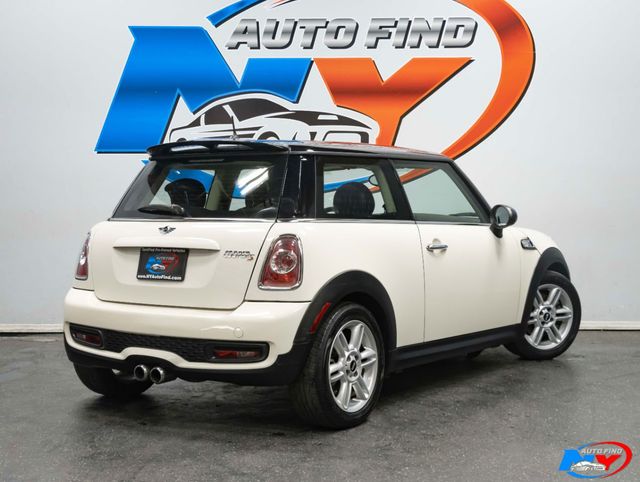
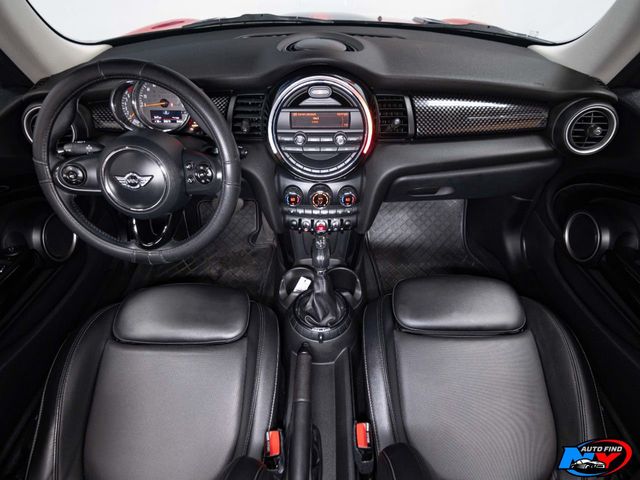
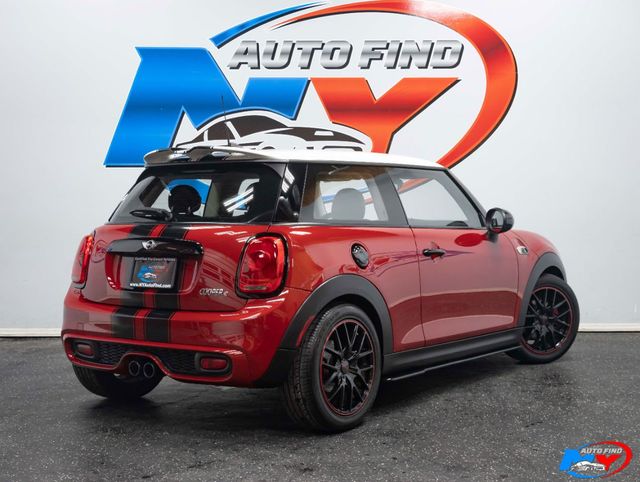
The Mini Hardtop is a compact car produced by the British automaker Mini, a subsidiary of BMW. The Hardtop is available in various trims and configurations, including the standard two-door and four-do...
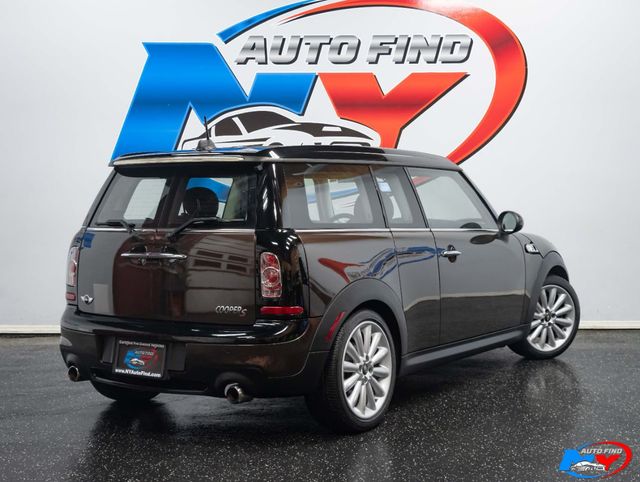
The MINI Clubman is a unique and versatile model within the MINI lineup, known for its distinctive design, practicality, and increased interior space compared to the traditional MINI Cooper models. Cl...
Mini Cooper Convertible is a small economy car made by the British Motor Corporation (BMC) and its successors from 1959 until 2000. The original is considered a British icon of the 1960s. Its space-sa...
The Mini Hardtop is a compact car produced by the British automaker Mini, a subsidiary of BMW. The Hardtop is available in various trims and configurations, including the standard two-door and four-do...
The MINI Countryman is a subcompact crossover SUV produced by the British automotive company MINI. It was first introduced in 2010 and is the largest model in the MINI lineup. The Countryman is availa...
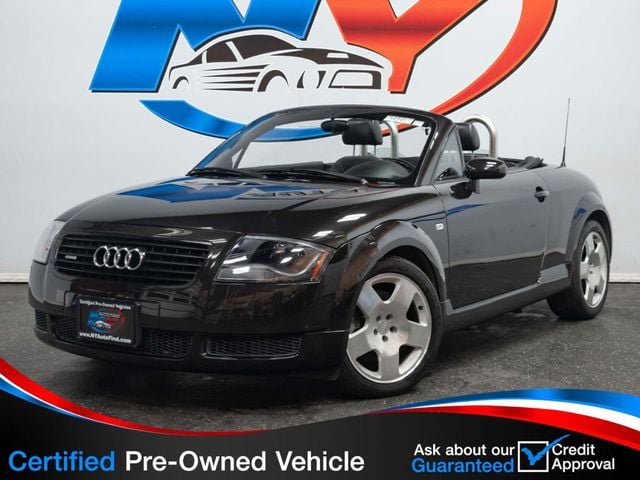
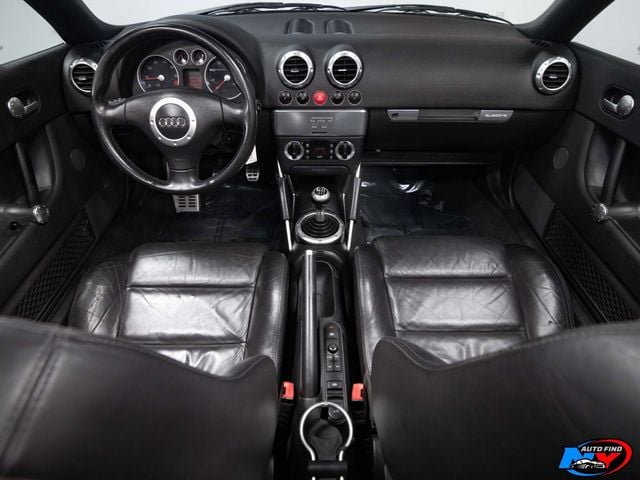
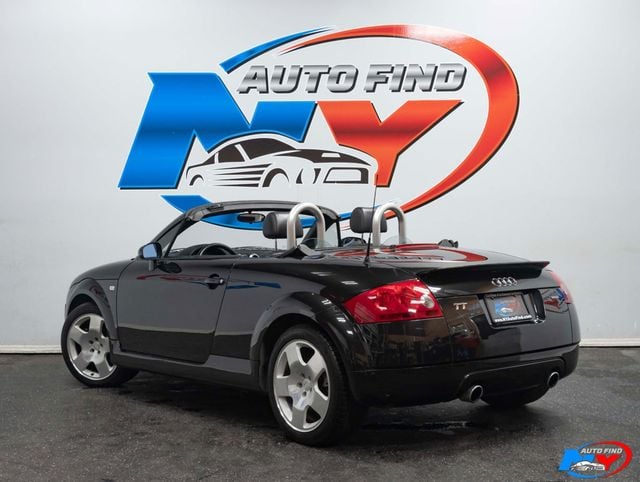
The Audi TT is a two-door sports car produced by the German automaker Audi since 1998. It is available in both coupe and roadster (convertible) body styles. The TT is known for its distinctive design,...
The Mini Hardtop is a compact car produced by the British automaker Mini, a subsidiary of BMW. The Hardtop is available in various trims and configurations, including the standard two-door and four-do...
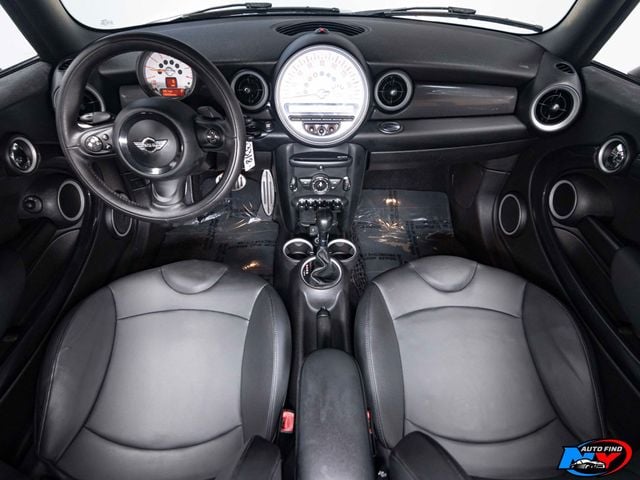
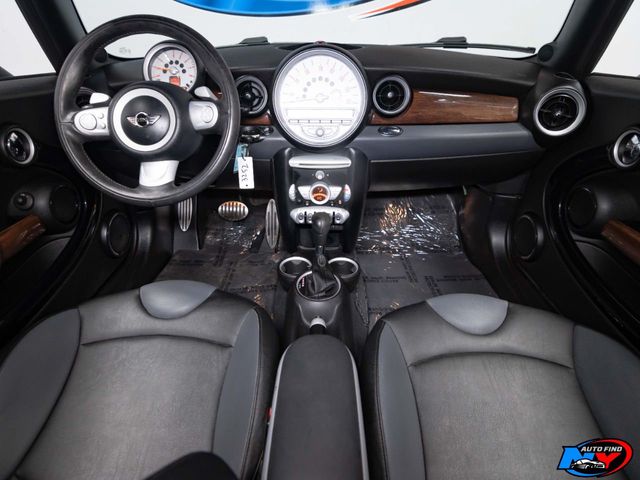
The Mini Hardtop is a compact car produced by the British automaker Mini, a subsidiary of BMW. The Hardtop is available in various trims and configurations, including the standard two-door and four-do...
The Mini Hardtop is a compact car produced by the British automaker Mini, a subsidiary of BMW. The Hardtop is available in various trims and configurations, including the standard two-door and four-do...
The MINI Clubman is a unique and versatile model within the MINI lineup, known for its distinctive design, practicality, and increased interior space compared to the traditional MINI Cooper models. Cl...
Mini Cooper Convertible is a small economy car made by the British Motor Corporation (BMC) and its successors from 1959 until 2000. The original is considered a British icon of the 1960s. Its space-sa...
The Mini Hardtop is a compact car produced by the British automaker Mini, a subsidiary of BMW. The Hardtop is available in various trims and configurations, including the standard two-door and four-do...
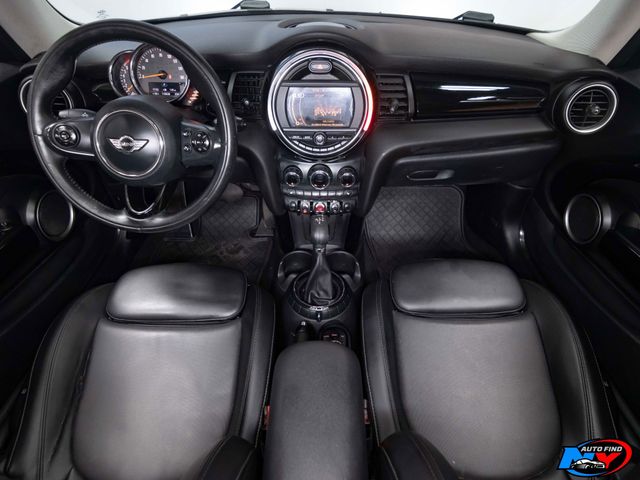
The Mini Hardtop is a compact car produced by the British automaker Mini, a subsidiary of BMW. The Hardtop is available in various trims and configurations, including the standard two-door and four-do...
The MINI Clubman is a unique and versatile model within the MINI lineup, known for its distinctive design, practicality, and increased interior space compared to the traditional MINI Cooper models. Cl...